Categories
Fire Damage Restoration

Restoring Hope: A Guide to Emergency Fire Damage Restoration

Emergency fire damage restoration is a crucial process to return your home to normal after a fire. Here’s what you need to know:

  • Safety First: Ensure everyone is safe and get the fire officially extinguished before beginning restoration.
  • Assessment: Restoration begins with a professional assessment to determine the extent of damage and create a custom recovery plan.
  • Mitigation: Steps like water removal, boarding up windows, and tarping roofs prevent further damage.
  • Restoration: This involves cleanup, odor and soot removal, and rebuilding affected areas to restore your home to its former condition.

Experiencing a fire in your home isn’t just about the physical damage; it can also have a deep emotional impact. The place that once brought comfort can become a source of stress and anxiety. The flicker of flames can turn anyone’s world upside down. That’s why have a swift, expert response to handle the restoration process, providing both physical repairs and emotional relief.

I’m Matt Heinbaugh, CEO of Yeti Restoration. My journey in Emergency fire damage restoration began with my dedication to helping homeowners overcome crises. Our team brings its expertise in restoration to quickly and effectively restore your property, ensuring you feel safe and secure once again.

Infographic on Emergency Fire Damage Restoration Process Steps - Emergency fire damage restoration infographic pillar-4-steps

Understanding Fire Damage

When a fire strikes, it doesn’t just burn what it touches. The aftermath can be complex, involving different types of fires, various kinds of damage, and lingering smoke and soot. Let’s break it down.

Types of Fires

Fires in homes can start from many sources, each leaving a unique mark. Here’s a quick look:

  • Protein Fire: This happens when food burns on the stove or in the oven, leaving strong odors and smoke residue.
  • Complex Fire: Involves burning of both natural and synthetic items, leading to greasy yellow residues. Quick action is needed to prevent corrosion.
  • Natural Fire: Occurs when trees or bushes burn outside, letting smoke seep into the home, leaving residues and odors.
  • Furnace Malfunction: When heating appliances malfunction, they can spread smoke damage throughout the house.

Each type requires a custom approach to restore the home effectively.

Structural Damage

Fire doesn’t just char surfaces; it can weaken the very bones of your home. Even areas not directly touched by flames can suffer:

  • Walls and Roof: These can become discolored and brittle within minutes of exposure.
  • Appliances: The heat can turn finishes yellow and ruin electronics.
  • Glass and Metal: Smoke can etch glass and tarnish metal quickly, making them unsightly and unsafe.

It’s crucial to have experts assess structural integrity to ensure safety.

Smoke and Soot

Smoke and soot are silent invaders. They seep into every nook and cranny, causing more than just a bad smell:

  • Residue and Odor: Smoke leaves a fine, oily residue that sticks to surfaces and can be hard to remove. The smell can linger for months if not properly treated.
  • Corrosion and Tarnishing: Soot can lead to corrosion of metals and tarnishing of surfaces if not cleaned promptly.
  • Health Risks: Inhaling smoke particles can be harmful. It’s essential to address these residues quickly to maintain a healthy living environment.

Understanding these elements is key to effective emergency fire damage restoration. With the right approach, it’s possible to reclaim your space and restore it to its former glory, free from the remnants of fire.

Understanding Fire Damage - Emergency fire damage restoration infographic 3_facts_emoji_blue

Next, let’s explore the steps involved in the fire damage restoration process, from assessment to odor removal.

Emergency Fire Damage Restoration

In the wake of a fire, every moment counts. A quick response is crucial to minimize damage and begin the path to recovery. Here’s how the emergency fire damage restoration process unfolds.

Quick Response

Time is of the essence when dealing with fire damage. The first 24 to 48 hours are critical. This period, often referred to as the “golden hours,” can make a significant difference in salvaging your property and reducing costs.

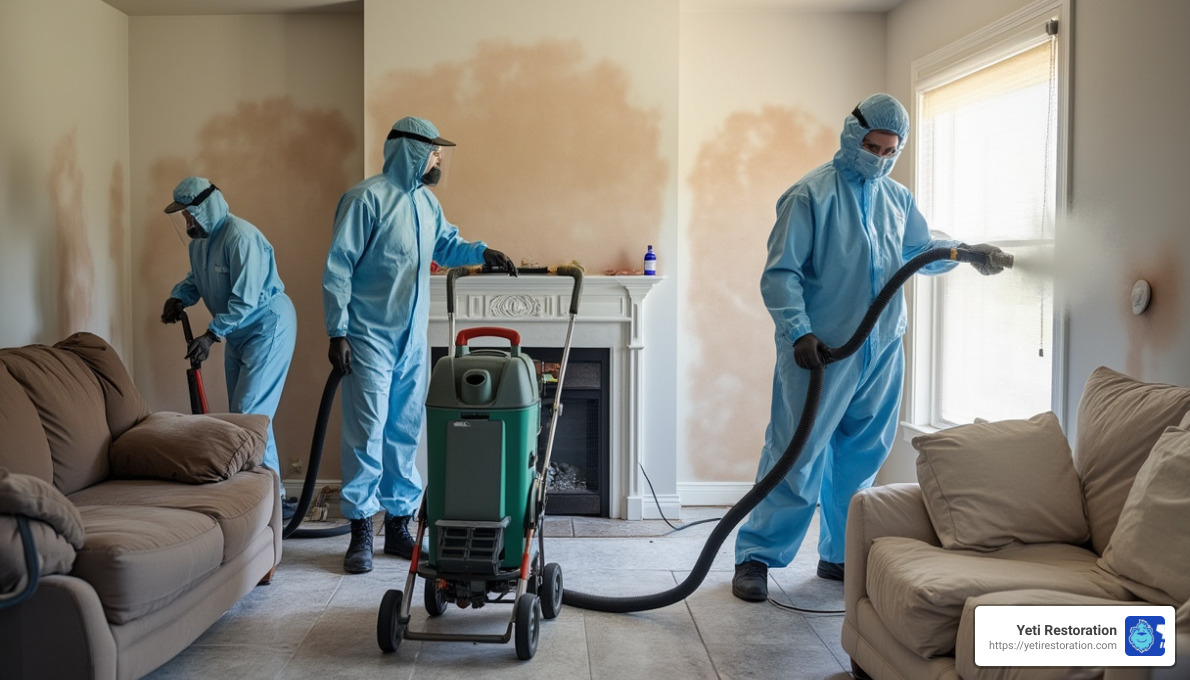
  • Initial Assessment: Upon arrival, restoration professionals quickly assess the extent of the damage. They examine how far the flames and smoke have penetrated and identify immediate threats such as structural instability or water intrusion from firefighting efforts.

  • Board-Up and Tarping: To prevent further damage, openings in the structure are secured. This involves boarding up windows and doors and placing tarps on damaged roofs.

Mitigation

Mitigation involves taking swift actions to prevent additional damage. This step is not about fixing the damage but stopping it from getting worse.

  • Water Removal: If the fire was extinguished with water, it’s crucial to remove excess moisture to prevent mold growth and further structural damage. Restoration teams use specialized equipment like pumps and dehumidifiers to dry out the property.

  • Smoke and Soot Cleanup: Smoke and soot can cause corrosion and tarnishing. Immediate cleanup is necessary to protect surfaces and prevent health risks. Professionals use advanced cleaning techniques to remove these residues.

Restoration Process

Restoration is the comprehensive phase where damaged areas are repaired and restored to pre-loss condition. This process can be extensive, involving several steps:

  • Structural Repairs: Damaged walls, roofs, and other structures are repaired or replaced. This step ensures the building is safe and sound.

  • Contents Restoration: Personal belongings affected by the fire are cleaned and restored. This can include everything from furniture to electronics, depending on the severity of the damage.

  • Odor Removal: Persistent smoke odors are eliminated using deodorization techniques. This is crucial for restoring the indoor air quality and making the home livable again.

The emergency fire damage restoration process is about more than just repairs. It’s about restoring hope and reclaiming your space. With a strategic approach, you can steer the aftermath of a fire and begin the journey back to normalcy.

Next, let’s explore the steps involved in the fire damage restoration process, from assessment to odor removal.

Steps in Fire Damage Restoration

Once the immediate dangers are addressed, it’s time to dive into the fire damage restoration process. This involves several meticulous steps to ensure your property is safe, clean, and livable again.

Assessment

The first step in the restoration process is a thorough assessment. Professionals evaluate the extent of the fire, smoke, and soot damage. They inspect every corner, from the attic to the basement, to determine the scope of work needed. This assessment helps to create a detailed plan for cleanup and repairs.

Cleanup

The cleanup phase is where the heavy lifting begins. It involves:

  • Debris Removal: Clearing out burnt materials and debris to prevent further damage and create a safe working environment.

  • Water Extraction: If water was used to extinguish the fire, removing it quickly is essential to prevent mold growth. High-powered pumps and industrial dehumidifiers are typically used.

  • Soot and Smoke Cleanup: Soot can be corrosive and smoke can penetrate deep into surfaces. Specialized equipment and techniques, such as dry ice blasting, are used to remove these residues without damaging the underlying materials.

Repair

Once the property is clean, the repair phase begins. This can range from minor repairs to major construction, depending on the damage:

  • Structural Repairs: Fixing or replacing damaged walls, floors, and roofs to ensure the building’s integrity.

  • Contents Restoration: Personal items like furniture, electronics, and clothing are cleaned and restored. Items are often moved off-site for thorough cleaning using state-of-the-art techniques.

Odor Removal

Even after the physical damage is addressed, smoke odors can linger. Removing these odors is crucial for restoring indoor air quality:

  • Deodorization: Advanced techniques, including thermal fogging and ozone treatments, are employed to neutralize smoke odors. This step ensures that the home doesn’t just look clean, but smells fresh too.

Final Inspection

Before the restoration process is considered complete, a final inspection is conducted to ensure all work meets quality standards and the property is safe for occupants.

These steps in the fire damage restoration process are vital to restoring your property to its pre-loss condition. With careful planning and execution, you can reclaim your space and start anew.

Next, we’ll tackle some frequently asked questions about fire damage restoration, such as what items can be salvaged and the expected timeline for repairs.

Frequently Asked Questions about Fire Damage Restoration

When a fire strikes, it leaves behind a trail of destruction. But not everything is a lost cause. Here’s what you need to know about salvaging items and the restoration process.

What can be salvaged after a house fire?

After a fire, some materials have a better chance of being saved than others:

  • Glass: Typically, glass items can withstand high temperatures, so they often survive fires. However, they may need thorough cleaning to remove soot and residue.

  • Metal: Like glass, metal objects are resilient. They might suffer discoloration or warping but can often be restored with proper cleaning and polishing.

  • Hardwood Floors: These can be tricky. If the fire damage is superficial, sanding and refinishing might bring them back to life. But if the damage is extensive, replacement might be necessary.

The ability to salvage items largely depends on the severity of the fire and the promptness of the emergency fire damage restoration efforts.

How long does it take to rebuild a house after a fire?

The timeline for rebuilding a house after a fire can vary greatly:

  • Minor Repairs: For minor fire damage, repairs might take a few weeks. This includes tasks like repainting walls or replacing small sections of flooring.

  • Extensive Repairs: If the fire caused significant structural damage, the timeline could extend to several months. Rebuilding walls, roofs, and other major components takes time and careful planning.

Each fire damage situation is unique, so timelines can differ based on the extent of the damage and the restoration methods employed.

What is the S740 standard for professional restoration?

The S740 standard is a guideline set by the Institute of Inspection, Cleaning and Restoration Certification (IICRC) for professional fire and smoke damage restoration. It covers:

  • Evaluation: A thorough assessment of the damage is crucial. Professionals use the S740 standard to evaluate the extent of fire, smoke, and soot damage.

  • Restoration Methods: The standard outlines best practices for cleaning and restoring affected materials. This ensures that the restoration process is effective and safe, bringing your property back to its pre-loss condition.

Understanding these key aspects of fire damage restoration can help you steer the recovery process with confidence. With the right information, you can make informed decisions about your property’s restoration journey.

Conclusion

When disaster strikes, it’s crucial to have a team you can trust. That’s where Yeti Restoration comes in. We pride ourselves on delivering exceptional service and quick response times, ensuring your property is restored swiftly and efficiently.

Our family-owned approach sets us apart. Unlike large franchises, we focus on personal, dedicated service. We understand the emotional toll fire damage can have, and we’re here to support you every step of the way.

Our team is available 24/7 for emergency fire damage restoration in Cincinnati, OH, and the Dayton metro area. We act fast to mitigate damage, helping to salvage as much as possible and restore your peace of mind.

With Yeti Restoration, you’re not just another client—you’re part of our family. We work tirelessly to bring your home back to its former glory, providing expert guidance and support throughout the process.

For more information on how we can help with smoke and odor removal, visit our Soot and Smoke Removal page.

Trust us to turn a devastating situation into a story of hope and recovery. Together, we’ll restore not just your home, but your sense of normalcy.

Categories
Fire Damage Restoration

Soot Happens: A Comprehensive Guide to Smoke and Soot Cleanup

Smoke and soot cleanup is a vital step when dealing with the aftermath of a fire. This process involves removing harmful smoke damage and soot residue that can linger long after a fire is extinguished. If you’re in need of a quick solution, here it is:

Quick Steps for Smoke and Soot Cleanup:

  1. Ventilation: Open windows and doors to let in fresh air.
  2. Protective Gear: Wear masks and gloves for safety.
  3. Initial Cleanup: Use a HEPA vacuum to remove loose soot.
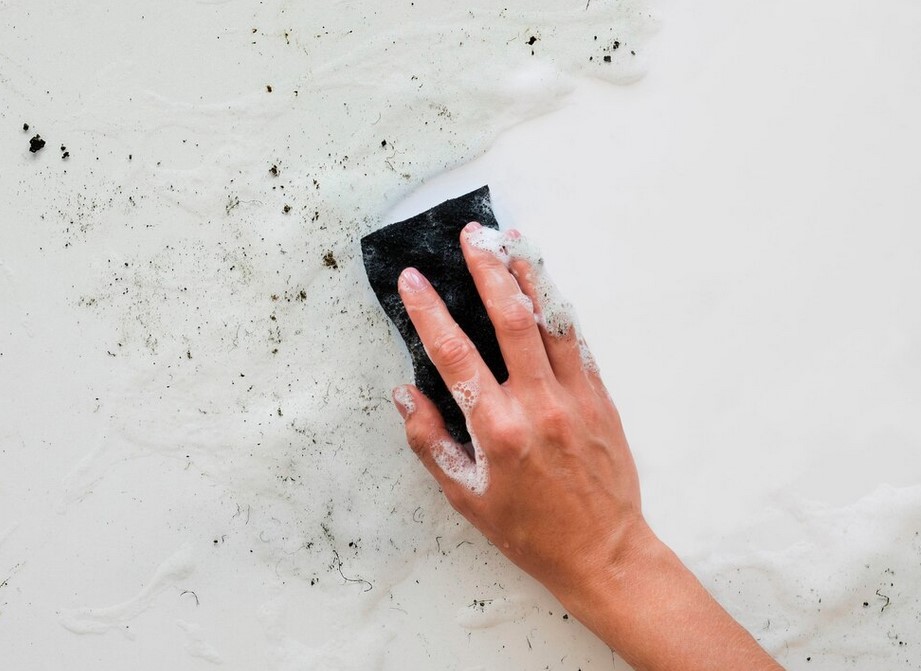
  4. Soot Sponge: Gently wipe surfaces to lift remaining soot.
  5. Deep Clean: Use high-alkali detergents for thorough cleaning.
  6. Professional Help: Consider experts for complex or extensive damage.

The aftermath of a fire can feel overwhelming. Your home might be filled with memories and treasured belongings now coated in soot. This isn’t just about visible damage; smoke can infiltrate every corner, affecting air quality and health. It’s essential to tackle these issues quickly and efficiently, restoring your home to its safe, welcoming condition.

Understanding the complexity of smoke and soot cleanup—from health risks to restoration challenges—can help you make informed decisions. Whether you’re managing minor smoke stains or extensive fire damage, knowing where to start is crucial for successful recovery.

Steps for Smoke and Soot Cleanup - Smoke and soot cleanup infographic process-5-steps-informal

Understanding Smoke and Soot Damage

When a fire occurs, the immediate concern is the flames. But once the fire is out, the smoke and soot damage left behind can be just as harmful. Understanding these elements is crucial for effective cleanup and health protection.

Soot Particles

Soot is a fine, black powder created by incomplete combustion. It’s made up of tiny particles that can easily spread throughout a home. These particles are sticky and can cling to walls, ceilings, and furniture. They can also travel through air ducts, affecting areas far from the original fire site.

Health Risks

The presence of soot and smoke particles in your home isn’t just a cleaning issue; it’s a health hazard. These particles can contain toxic substances, including heavy metals and carcinogens. When inhaled, they can cause a range of health problems.

Respiratory Issues

Breathing in soot particles can lead to respiratory issues. People with asthma or other lung conditions are particularly at risk. Symptoms can include coughing, shortness of breath, and even more serious conditions like bronchitis or pneumonia.

Health risks of smoke and soot inhalation - Smoke and soot cleanup infographic 3_facts_emoji_light-gradient

To minimize these health risks, act quickly and efficiently. Proper smoke and soot cleanup involves not just cleaning the visible residues but also addressing airborne particles. Ventilation and air filtration are key steps in this process.

In the next section, we’ll explore the techniques and materials necessary for effective smoke and soot cleanup, helping you restore your home to a safe and healthy environment.

Smoke and Soot Cleanup Techniques

When it comes to smoke and soot cleanup, using the right techniques and materials is crucial. A careful approach ensures your home is restored safely and effectively.

Essential Cleaning Materials

For a successful cleanup, you need the right tools. Here’s what you’ll need:

  • Soot Sponge: Also known as a dry-cleaning or chemical sponge, this is perfect for removing soot from walls and ceilings without smearing.

  • HEPA Vacuum: A powerful vacuum with a HEPA filter can safely capture soot particles without spreading them back into the air. It’s essential for cleaning carpets and upholstery.

  • High-Alkali Detergent: This is useful for breaking down oily soot residues, especially on hard surfaces like tiles and glass.

These materials help tackle different types of soot, whether from high-oxygen or low-oxygen fires.

Step-by-Step Cleanup Process

  1. Protective Gear: Before you start, wear gloves, a face mask, and long sleeves to protect yourself from soot particles.

  2. Ventilation: Open windows and use fans to ventilate the area. This helps dissipate smoke odors and reduces the concentration of airborne particles.

  3. Vacuuming: Use a HEPA vacuum to remove loose soot from floors, carpets, and upholstery. This should be your first step to prevent soot from embedding deeper into surfaces.

  4. Soot Sponge: Gently wipe walls and ceilings with a soot sponge. Avoid using water, as it can cause soot to smear and spread.

  5. Detergent Cleaning: For surfaces that can handle moisture, use a high-alkali detergent. This is especially effective on oily soot residues. Be sure to rinse thoroughly and dry the area completely.

By following these steps, you can significantly reduce the impact of smoke and soot damage in your home. Using the right materials and techniques is key to a successful cleanup.

In the next section, we’ll dive into specialized cleaning methods for different surfaces, ensuring every part of your home is restored to its original state.

Specialized Cleaning for Different Surfaces

Walls and Ceilings

Cleaning walls and ceilings requires a gentle touch to avoid spreading soot. Start with a dry-cleaning sponge, also known as a chemical sponge. This is perfect for removing soot without water, which can cause smearing.

For walls with oily soot, a high-alkali detergent is your best friend. Mix it with warm water and gently scrub the surface. Remember to rinse thoroughly and dry the area to prevent water damage, especially if your walls are painted or have wallpaper.

Carpets

Carpets can hold onto soot particles, making them tricky to clean. Begin by vacuuming with a HEPA vacuum to remove loose soot. Next, sprinkle baking soda over the carpet. Let it sit for a few hours to absorb odors and loosen soot.

For stubborn stains, use a mixture of water and hydrogen peroxide. Test it on a small, hidden area first to ensure it doesn’t bleach the carpet. Gently scrub the stained area and then rinse with water. Dry the carpet thoroughly to prevent mold growth.

Wood Furniture

Wood furniture requires careful handling to avoid scratches and further damage. Use your vacuum’s flat brush to remove loose soot. Then, take a dry chemical sponge and gently wipe along the wood grain to lift remaining soot.

For a finishing touch, wipe down the wood with a damp cloth and let it dry completely. Finally, apply a quality wood polish or conditioner to restore the finish and protect the wood from future damage.

By using these targeted techniques, you can effectively clean smoke and soot from various surfaces in your home. In the following section, we’ll explore the benefits of seeking professional help for smoke and soot cleanup, ensuring your home is in expert hands.

Smoke and Soot Cleanup: Professional Help

When dealing with smoke and soot cleanup, sometimes a DIY approach isn’t enough. That’s where professional services like Yeti Restoration come in. They offer expert services that ensure your home is thoroughly cleaned and safe to live in again.

Why Choose Yeti Restoration?

Expertise and Experience: Yeti Restoration has a team of trained professionals who understand the complexity of smoke and soot damage. They know that every fire is unique, and they tailor their approach to suit the specific needs of your home. Whether it’s cleaning high ceilings or salvaging electronics, their expertise covers a wide range of scenarios.

Customer Satisfaction: At Yeti Restoration, customer satisfaction is a top priority. They work closely with you to ensure that all your concerns are addressed. Their team is known for being responsive and attentive, making sure you’re comfortable every step of the way.

Insurance Approved: Yeti Restoration is fully certified and insurance-approved. This means they can handle large-scale projects efficiently and help you steer the insurance claims process, reducing stress during an already challenging time.

The Benefits of Professional Help

  1. Thorough Cleaning: Professionals have access to specialized equipment and cleaning solutions that aren’t available to the average homeowner. This ensures a deeper clean, removing all traces of soot and smoke.

  2. Time-Saving: With experts on the job, the cleanup process is much quicker. You can return to your normal routine sooner without sacrificing the quality of the cleanup.

  3. Safety Assurance: Smoke and soot can pose health risks if not handled properly. Professionals use protective gear and follow strict safety protocols to ensure the cleanup is safe and effective.

  4. Odor Removal: Yeti Restoration provides a lifetime odor-free guarantee, ensuring that your home smells fresh and clean long after the cleanup is complete.

By trusting Yeti Restoration with your smoke and soot cleanup, you can rest easy knowing your home is in capable hands. For more information on how our professional services can help you with smoke and soot damage, visit our Smoke and Soot Removal page. Let Yeti Restoration be your partner in restoring your home and peace of mind.

Frequently Asked Questions about Smoke and Soot Cleanup

How to clean smoke and soot damage?

Cleaning smoke and soot damage involves a careful, step-by-step process. Here’s a simple guide:

  1. Ventilate the Area: Open windows and use fans to help clear out lingering smoke particles.

  2. Wear Protective Gear: Use gloves, goggles, and a mask to protect yourself from harmful soot.

  3. Vacuum Loose Soot: Use a HEPA vacuum to gently remove loose soot from surfaces. Avoid pressing hard to prevent driving soot deeper into materials.

  4. Use a Dry-Cleaning Sponge: These special sponges are designed to lift soot from walls and ceilings without spreading it.

  5. Wash with Detergent: Mix a high-alkali detergent with warm water and gently scrub the affected areas. Rinse with clean water to remove any residue.

For detailed cleaning, consider hiring professionals like Yeti Restoration, who have the expertise and tools to handle complex smoke and soot cleanup.

What is the best cleaner for smoke soot?

The best cleaner for smoke soot depends on the surface you’re dealing with:

  • Walls and Ceilings: A high-alkali detergent works well for scrubbing soot stains after using a dry-cleaning sponge.

  • Carpets: Baking soda and hydrogen peroxide can help lift soot and neutralize odors.

  • Wood Furniture: A dry chemical sponge coupled with a vacuum brush can effectively clean soot without damaging the wood.

Professional services often use specialized cleaning solutions and equipment that can provide a deeper clean than DIY methods.

How do you get rid of soot buildup?

Getting rid of soot buildup requires a thorough and systematic approach:

  1. Identify Affected Areas: Soot can settle in unexpected places, so inspect your home thoroughly, including ceilings and hidden corners.

  2. Vacuum First: Use a HEPA vacuum to remove loose soot particles. Be gentle to avoid spreading it further.

  3. Apply a Soot Sponge: Gently rub a dry-cleaning sponge on surfaces to lift soot without water, which can make it harder to remove.

  4. Deep Clean with Detergent: Use a high-alkali detergent to scrub the remaining soot stains. Rinse and dry the area completely.

  5. Regular Maintenance: Regular cleaning and proper ventilation can help prevent future soot buildup.

For stubborn soot buildup, professional services like Yeti Restoration can provide specialized cleaning techniques to ensure all traces are removed.

Conclusion

When it comes to tackling smoke and soot cleanup, you don’t have to go it alone. At Yeti Restoration, we pride ourselves on providing swift and efficient services to help you get back on your feet after a fire. Our team understands the emotional and physical toll fire damage can take, and we’re here to support you every step of the way.

Quick Response Time
We know that time is of the essence when dealing with smoke and soot damage. That’s why our team is committed to responding quickly to your call. The faster we can start the cleanup process, the sooner you can return to a safe and comfortable environment.

Exceptional Customer Service
As a family-owned business, we value the trust you place in us. Our approach is always customer-first, ensuring you feel supported and informed throughout the restoration process. From the initial assessment to the final cleanup, we’re here to answer your questions and address any concerns.

Expert Services
Our team is equipped with the knowledge and tools necessary to handle even the most challenging smoke and soot cleanup situations. We use specialized cleaning techniques and materials to ensure your home is thoroughly restored. Whether it’s walls, ceilings, carpets, or wood furniture, we have the expertise to tackle it all.

For more information on how our professional services can help you with smoke and soot damage, visit our Smoke and Soot Removal page. Let Yeti Restoration be your partner in restoring your home and peace of mind.

Categories
Fire Damage Restoration

DIY or Get A Yeti?

A few years ago, we were called to help after a small house fire. The fire was put out when a firefighter who lived across the street
ran over and put it out with the kitchen faucet – true story!

The water used was not great in volume, but the homeowners temporarily moved out because of the smoke damage. The water sat on
the floor, seeping into the hardwood, and wicking up the drywall.

By the time we were engaged, the hardwood was beyond saving, and some interesting mold had started to grow between the hardwood and the subfloor. The drywall behind the oven had “turned” and the baseboards and framing had mold growth or “settled spores” on them.

All of this was a well contained contiguous ten square feet of mold (within range for the EPA’s DIY/ Homeowner guidelines), but the homeowners requested our help because of the complexity of the rest of the scope.

There was an obvious need for containment and negative air in this remediation project, and for drying equipment for the substrates that would not sensibly be removed. Of course, A subfloor (for example) that’s been wet might be stained by mold pigments, but it’s not considered dangerous when professionally cleaned.

house molds
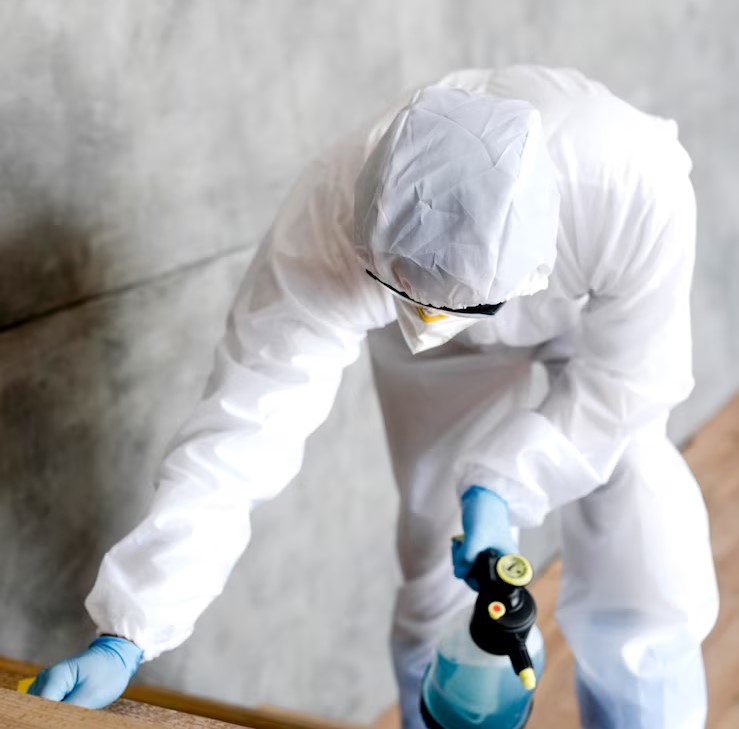
DIY mold removal

So, could you DIY this mold concern?

Great question. And we’ve been blessed to remediate mold for major governmental organizations, and actually been able to ask this question directly to the key players in this field of study.

Here’s what everyone agrees you can DIY:

Up to ten contiguous square feet of mold.

But if you’re going to do it, don’t spray bleach at it.

Not after you’ve read our other articles, and know what you know, now 🙂

DIY mold removal

Steps to consider:

Safe disposal and clean-up.

No wet chemicals everywhere.

No craziness.

If it’s small, don’t think too big.

You’ve got this.

And you can always call us for help with your interior mold remediation project: 513 280 5800 🙂

Adapted from the book: Yeti’s Eat Mold for Breakfast, first published 2022

We can also help with fire damage restoration services! just reach out!

Mold Removal Service